This is a lovely alternative to sourdough - get the open crumb structure of a sourdough loaf, as well as the rustic look, without using a sourdough starter!
A ‘Biga’ is a type of pre-ferment, which is where you mix up some of your flour with water and yeast the day before you plan to mix the dough to allow a mature flavour to develop.
The flavour is milder, and the crust isn’t as thick and crunchy which is something I prefer. The recipe takes a bit of preparation as the Biga must be made 14 hours before you mix your final dough, but the result will be well worth it!
Measuring the dried yeast in this recipe can be fiddly if you don’t have a scale that weighs fine amounts, but you can eyeball it.
- Baker: Sophie Carey
- Makes: 1 Large Loaf
- Prep time: 30 Minutes (plus proving time)
- Bake time: 45 Minutes
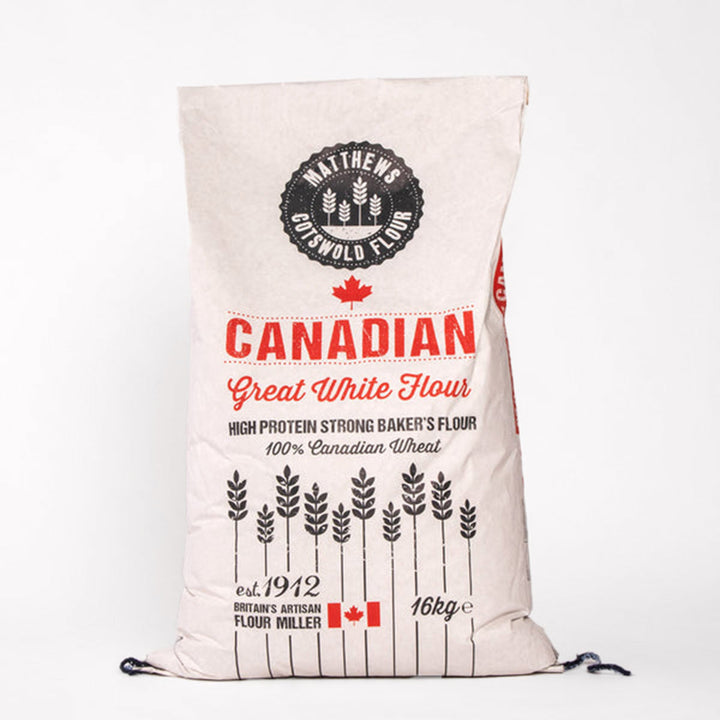
- Flours used: Matthews Canadian Flour
Biga Bread Method:
- In a large mixing bowl, combine the ingredients listed for the Biga. Mix these by hand just until a dough forms. Scrape the bowl down and cover before leaving it for 14 hours on the counter at room temperature.
- Once 14 hours have passed, you should see your biga has some nice bubbles and a strong smell! At this point you should scrape all of the biga into a mixing bowl for a stand mixer fitted with a dough hook attachment.
- Add in the rest of the ingredients for the final dough and set the mixer going on its slowest speed for 5 minutes. Once 5 minutes is up, turn the speed up to medium and let the mixer run for a further 7 minutes.
- Once the dough is mixed, it should be very elastic and shiny. Scrape the bowl down and cover it with cling film or a tea towel.
- The dough now needs to be left to bulk ferment on the counter for the next 4 hours, but in the first 2.5 hours you should complete a set of stretch and folds every 30 minutes.
- After each set of stretch and folds, you should notice that your dough tightens up a lot and gets more puffy. Once the bulk ferment time is up, you can begin shaping!
- Tip your dough out onto a lightly floured counter and gently shape it into a rectangle by stretching it out. Fold one third of the rectangle into the centre, then the other third over the top of that. You will now have a narrow rectangle. Starting from the top, roll the rectangle down towards you to create a tight roll. Place this into a floured banneton with the seam on top. Leave for 15 minutes.
- You now need to ‘stitch’ your loaf which will give it some extra tension so it doesn’t collapse when you turn it out. There are lots of videos on this on YouTube, but basically you want to first gently pull the two ends in and stick them down, then pull the dough into the centre from the edges and stick them together. I like to do this a couple of times while the loaf is proving.
- Leave the loaf to prove for 1.5 hours, while you preheat the oven to 230 degrees Celsius. I like to bake this loaf in a Dutch oven so put this into the oven while it’s preheating.
- Turn the loaf out onto a strip of greaseproof baking paper and use a sharp knife or a lame to score the loaf using one smooth motion going from the top of the loaf to the bottom, then gently lower the loaf into the preheated Dutch oven using the baking paper.
- Bake with the lid on for 30 minutes, then 15 minutes with the lid off or until the loaf has reached the desired colour.
-
Cool on a wire rack completely before slicing and enjoy!


