Frying Pan Pizza Recipe


Ingredients
Deep Pan Pizza Dough Ingredients:
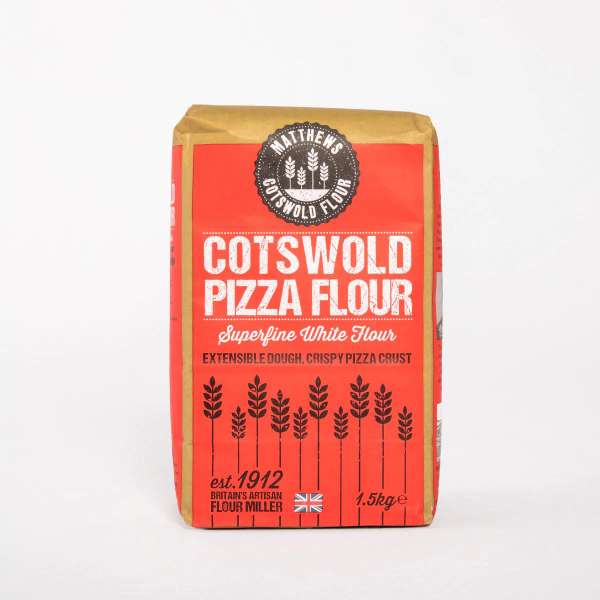
- 600g Matthews Premium Cotswold Pizza Blend
- 390g Water
- 1.5g Dried Yeast
- 10g Salt
- Semolina (for sprinkling)
Frying Pan Pizza Topping Ingredients:
Plus whatever pizza toppings you like! Some favourites include:
- Tomato Sauce (Passata)
- Fresh Mozzarella
- Basil Leaves (A Few – Torn)
- Olive Oil (To Drizzle)


Frying Pan Pizza Recipe


Ingredients
Deep Pan Pizza Dough Ingredients:
- 600g Matthews Premium Cotswold Pizza Blend
- 390g Water
- 1.5g Dried Yeast
- 10g Salt
- Semolina (for sprinkling)
Frying Pan Pizza Topping Ingredients:
Plus whatever pizza toppings you like! Some favourites include:
- Tomato Sauce (Passata)
- Fresh Mozzarella
- Basil Leaves (A Few – Torn)
- Olive Oil (To Drizzle)
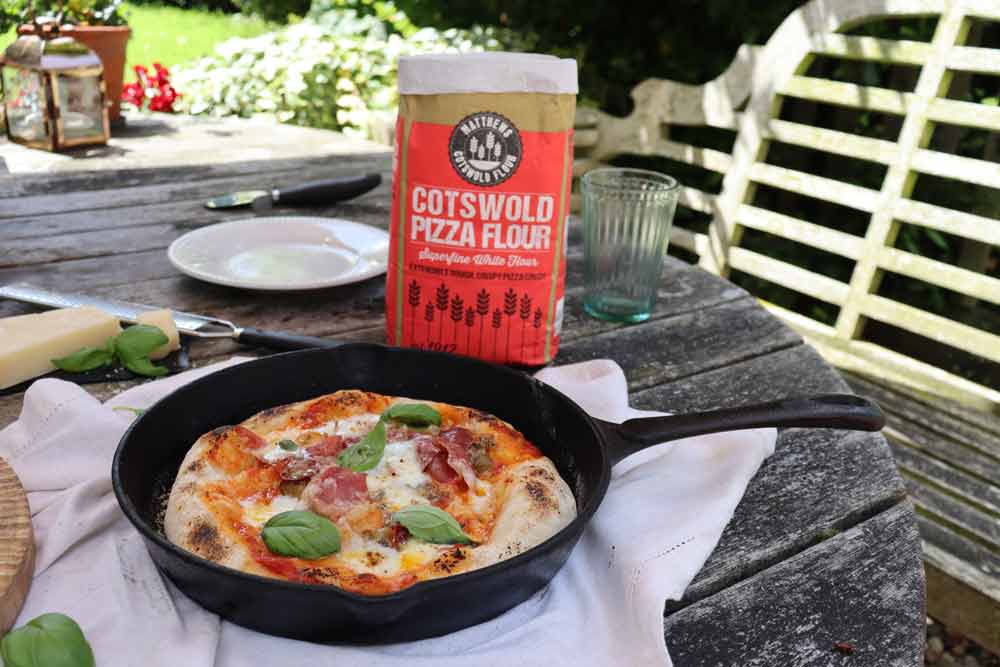
This Skillet Pizza Recipe is a fantastic way to make perfect deep pan pizzas with your hob and grill! You can also use the method if you're lucky enough to have a pizza oven, swapping the grill part of the cooking for your pizza-oven-of choice, and you can also make do without the hob if needed (just preheat the pan under your flame instead - as long as it's hot enough to get the pan up to temp).
Remember to use an oven safe frying pan or skillet - you can also swap out a pan for a sufficiently deep oven tray - and be sure to use adequate safety gear to protect you from hot handles! If you need to serve multiple pizzas in a rush, it helps to have more than one pan on the go at any given time too. We hope you enjoy, and please share your results if you give this deep dish pizza recipe a go at home!
- Baker: Sophie Carey
- Makes: 6+ Pizzas
- Prep time: 20 Minutes
- Bake time: 10-15 Minutes
- Flours used: Matthews Cotswold Pizza Flour
Skillet Pizza Recipe Method:
- In a large bowl, combine the water and yeast and whisk with a fork before adding in the flour and salt. Combine with your hands until there are no flour lumps left - this should take a couple of minutes. Cover the dough with clingfilm and leave for 30 minutes.
- After 30 minutes complete 4 stretch and folds while keeping the dough in the bowl. Do this by grabbing the edge of the dough gently and pulling it upwards, once you feel tension fold it back down over the dough. Turn the bowl 90 degrees and repeat. Cover again and leave for a further 30 minutes.
- Complete another series of stretch and folds, then cover and leave for 30 minutes. Repeat this a further 2 times until you have done 4 sets of stretch and folds.
- After the final 30 minute rest, tip the dough out onto a lightly floured surface and divide it into portions of about 200g. Gently fold the dough in on itself until you have a smooth ball of dough. I like to keep these in plastic half quart containers that I get from Amazon, but you could just put them on a floured baking tray on their own square of baking paper.
- Leave in the fridge overnight (or for up to 3 nights), and on the day you want to make your pizza - pull it out of the fridge and leave to come to room temperature for an hour or so.
- Preheat your grill to the hottest setting, and get an ovensafe frying pan or skillet on a medium heat on the hob.
- Dust your surface with a little flour, and sprinkle some semolina in your pan - make sure you have your toppings ready in advance as this process moves quickly!
- Tip your dough out of it’s container and begin stretching it out. I like to first press my fingertips into the middle of the dough to begin the process, before I start picking it up and stretching. This doesn’t need to be perfect, but aim for it to be the size and shape of your frying pan.
- Once you are satisfied with your shape, gently place the dough into the frying pan which is still on the heat. Add your sauce and toppings - and remember, less is more with homemade pizzas so don’t add too much!
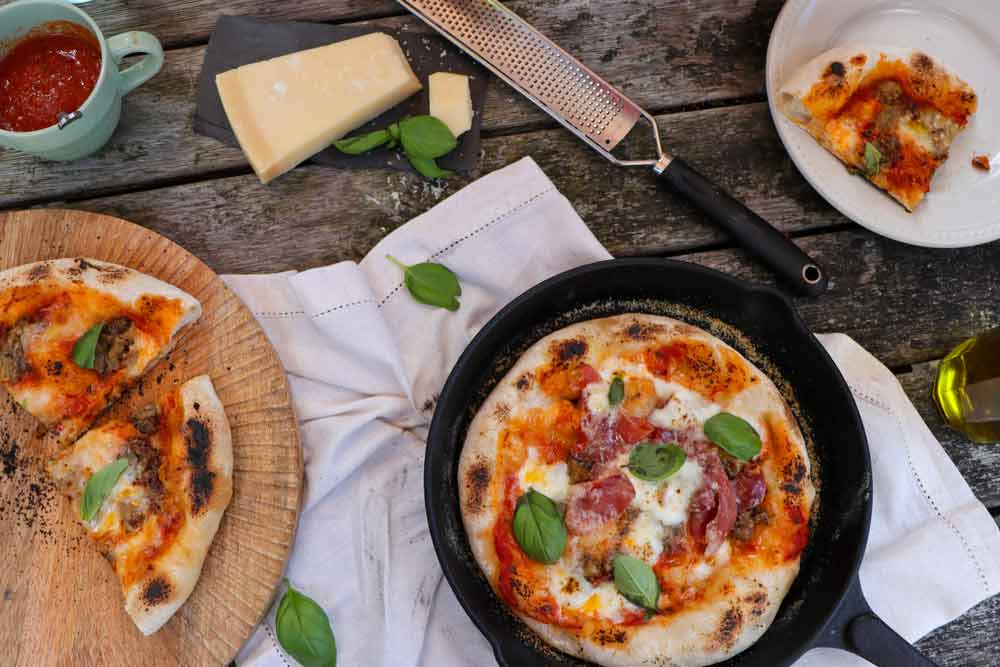
- Once your toppings are added, the base of your pizza should be at least part baked. Pop the whole pan under the grill and cook until the crust is puffy and brown. You might find you get some blackened spots - this is called leoparding and adds a great flavour!
- Remove from the grill and use a pallet knife or a fish slice to get under the pizza to slide it onto a board or a wire rack. Leave for a minute to cool before slicing and serving.
← Older Post Newer Post →