Frying Pan Margherita Pizza Recipe
This delicious Frying Pan Margherita Pizza was crafted by our Pizza Brand Ambassador, Rich Payne. A big thanks to @dough_and_behold for providing us with Pan Pizza Recipe, get baking!
Rich says, "This really is a fantastic way to make a cracking, almost Neapolitan style pizza. I had been using clay baking stones for years and was always so disappointed with the results until I tried this and quite frankly, it blew my mind! It’s a super affordable way to make amazing pizza at home."
- Baker: Rich Payne / Dough & Behold
- IG: @dough_and_behold
- Makes: 4 x 260g dough balls
- Prep time: 20 hours based on the method below!
- Bake time: 3 mins in frying pan, 3 mins under oven grill
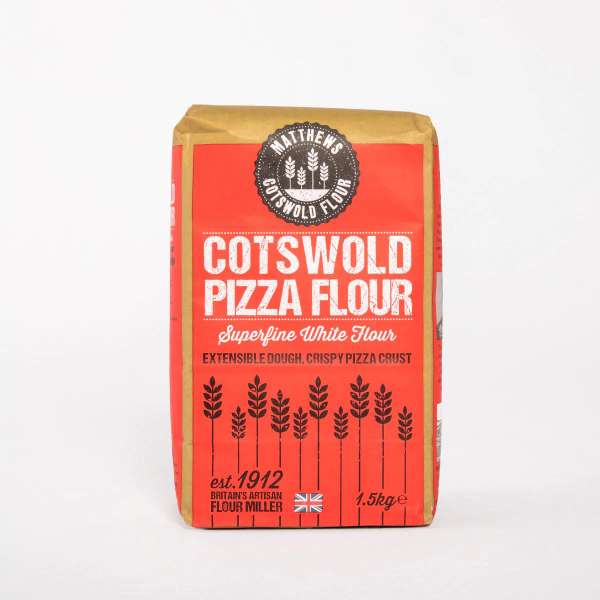
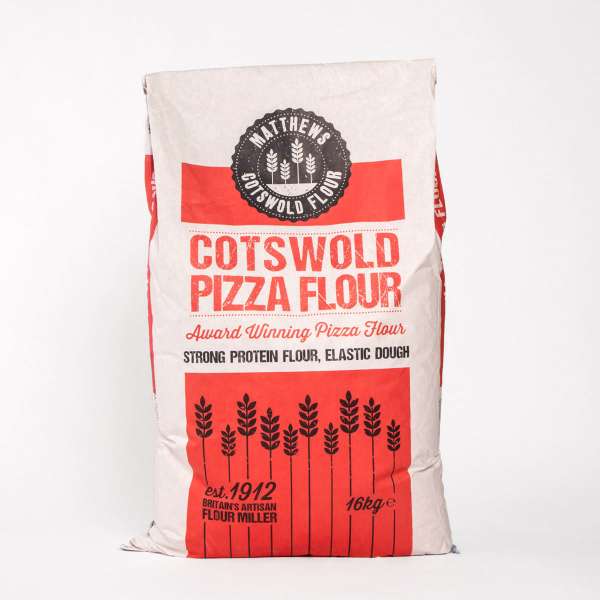
- Flour(s) used: Cotswold Pizza Flour
Frying Pan Pizza Dough Method
- First off add all your flour into a mixing bowl. (Using food mixer)
- Add 80% of your water to the bowl.
- Crumble all your Fresh yeast into the bowl (Or dried yeast).
- Turn your mixer on to a slow mixing speed and wait for the ingredients to combine and mix until there are no dry bits.
-
Add a little bit more water but not all of it whilst these mixes. ⁃ Once there are no dry bits of flour, cover the bowl and let it rest for 30-45mins. This allows the dough to absorb the water properly and let the gluten begin to develop.
- After around 45 mins, add all your salt into the mixer and all the remaining water. ⁃ Mix at a slow speed to start with while to salt and water is mixed in and then increase the speed a little for a minute or two.
- When it looks like the dough is becoming smooth, stop the mixer and let the dough rest for about 10 mins.
- After 10 mins, give the dough another mix for a minute. If at the end of this your dough feels nice and smooth, then take it out of the mixer.
- If the dough still looks a bit lumpy, let it rest and repeat this process one or two more times until you are happy. You will notice how the dough becomes smoother as you let it rest.
- Once happy with your dough, place it onto a clean work surface and gently shape it into a ball. You can use a dough scraper to kind of push it along your work surface to develop surface tension, so you end up with a nice, tight, smooth dough ball.
- Place this Dough ball in a lightly oiled container with a lid.
- Leave out at room temp overnight to bulk prove. (15hrs)
- At 8am the next morning, empty the dough from your container out onto a work surface and divide it into 4 x 260g dough balls.
- Weigh the doughballs to make sure they are all even weights.
- To shape the dough ball, grab it in one hand and fold it into itself a few times to make a tight, smooth ball.
- Once you are happy your dough balls have enough surface tension place them into either a small dough tray, or for best results at home, I oil an individual breakfast bowl and place the dough ball inside and cover it with cling film (or even better you can get silicon covers online that mean you use less cling film plastic).
- Once your balls are in the bowls and covered, leave them out at room temp for another 5 hours and you are ready to bake. (You can ball up the night before you go to bed if you want to give your dough balls even longer time to rest) Both methods work well.
Frying Pan Margherita Pizza Method
- I used a 9” cast iron skillet pan, but this recipe works perfectly for a 12” frying pan
- Open out your dough ball and stretch it to around 8 inches, pushing all the air from the centre of your dough ball to the very edges of your pizza base, leaving about 2cm at the edges, this is so your crusts will puff up nicely.
- Whilst you are doing this, preheat your frying pan on full flame for 2-3 mins until it’s piping hot.
- (I measured my pan with an infrared thermometer gun and it can reach around 300-330ºC).
- Then turn your home oven grill onto its highest setting to preheat.
- When your dough ball is stretched, brush the crusts with olive oil, and sprinkle a little salt onto the crusts, then lift it up and rest it upon your knuckles and give it one last stretch until it is roughly the size of your frying pan.

- Very gently, position the dough over the top of your frying pan and carefully drop it straight onto the hot pan. - Be very careful not to burn your fingers here. The dough should fit into the pan perfectly, but if it’s not quite even you can carefully grab the edges of the dough to make it fit the pan perfectly. At this point I turn the flame - heating the pan off.
-
Now your dough is in the pan, you will notice the crusts puffing up already, this is what you want! Now, top your pizza:
- Spoon on your tomato sauce and spread evenly onto the base.
- Grate on a little Parmesan.
- Add sliced mozzarella.
-
Add an extra drizzle of olive oil.

- By the time you have topped your pizza the crusts should have puffed up nicely and your cheese will be showing a very slight sign of melting, but not much. I turn the flame back on here just for about 10seconds to give the pan a heat boost.
- I then remove my pan from the hob and place it on a high shelf in the oven, just under the grill, which should be red hot at this point.
- Now carefully watch your finished pizza come to life! The crusts will begin to brown, the cheese will start melting and bubbling, and as soon as you feel the crust looks a nice golden-brown colour (after 2-3mins) remove the frying pan from the oven and place upon a heat resistant mat to cool. Your pizza should be bubbling, sizzling and smelling fantastic at this point! With a metal spatula, release the pizza from the frying pan and place your pizza upon a wire cooling rack, garnish with a few fresh basil leaves, then slice and serve!


