Rhubarb and Custard Viennese Whirls Recipe
You don’t need to make your own jam for these biscuits, but they make such a nice gift and the extra jam can go into a jar to give away too (or just to keep in the fridge for yourself!). Using early forced rhubarb gives the jam such a nice pink colour, and what better combination than rhubarb and custard!
- Baker: Sophie Carey
- Makes: 12-14 biscuits
- Prep time: 1 hour (if making the jam too)
- Bake time: 15 minutes
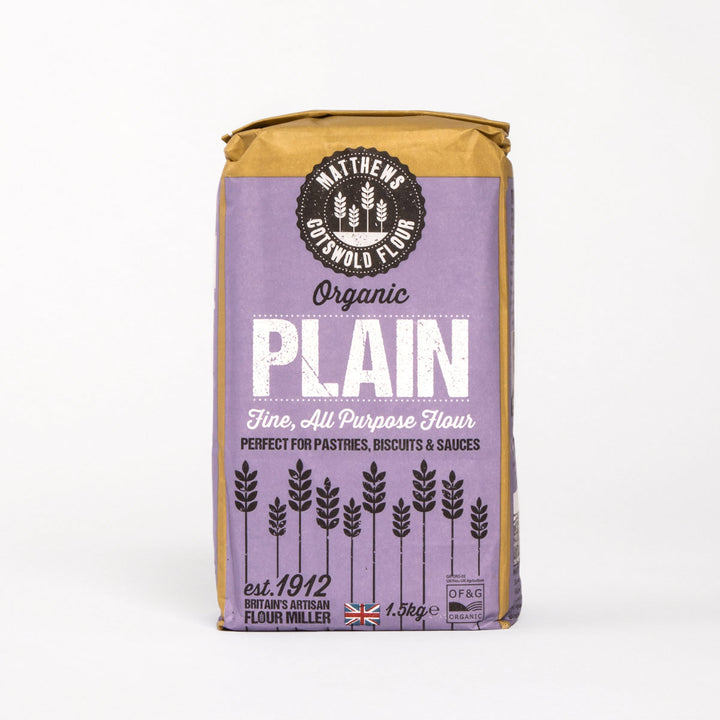
- Flours used: Organic or Conventional Plain Flour
Rhubarb and Custard Viennese Whirls Method:
- To make the jam, cut the rhubarb into chunks of about 1 inch and place them into a large saucepan with the jam sugar. I like to leave this to sit first for about 30 minutes to draw the liquid out of the fruit so the sugar doesn’t burn - but if you don’t want to do this then add a small splash of water.
- If you have a food thermometer, get it out and have it to hand. If not, get a couple of small saucers into the freezer - this will help you test when the jam is finished boiling
- Put the pan on a medium heat and stir until the sugar starts dissolving - make sure to scrape all edges along the bottom to avoid the sugar caramelising. Once the sugar has dissolved, add the lemon juice and turn the heat up to achieve a steady boil.
- Boil the jam while stirring every now and gain, and make sure you skim the foamy scum from the top as it appears to keep your jam from going cloudy. Keep the jam at a steady boil for 10 minutes, then you can start testing it!
- To test the jam using a food thermometer, measure it until it reaches 105 degrees Celsius. Make sure you check frequently after stirring! To test the jam using the saucer method - periodically take one of your frozen saucers from the freezer and place a teaspoon of the jam onto it. Wait a couple of minutes then push the jam with your finger - if it wrinkles it’s done!
- After your jam has finished, turn off the heat and allow it to cool slightly in the saucepan. You can then pop this into a jar or two (sterilise them if you want to keep the jam for longer than a week or so).
- For the biscuits, start by creaming the butter and icing sugar until really light in colour. Add the flour, cornflour, vanilla, and baking powder along with a pinch of salt. Mix again until it’s super soft and fluffy - it should almost be the consistency of a buttercream icing.
- Put the biscuit mix into a piping bag fitted with a star nozzle and pipe small rosettes onto a lined baking sheet. I like to aim for about 2 inches across.
- Put the baking tray into the fridge to chill for at least 30 minutes before baking. Preheat the oven to 180 degrees Celsius - once the biscuits are ready, bake them for 12-15 minutes or until just starting to brown on the edges. They will firm up more as they cool.
- Transfer the biscuits to a wire cooling rack and start on the buttercream! Using a stand mixer or a handheld mixer, cream the butter and icing sugar until they are really light and fluffy - this should take about 10 minutes!
- Add in the custard powder and the milk, scrape down the bowl, and give the buttercream one final mix.
- To assemble the Viennese whirls, take one of the biscuits and invert it. Pipe buttercream onto the flat side of the biscuit as well as a border to stop any jam leaking out. Place about a teaspoon of the jam onto the buttercream and sandwich it all with another biscuit. Repeat until all your biscuits are gone!


