Sourdough Tips from our Expert Baker - Sophie B
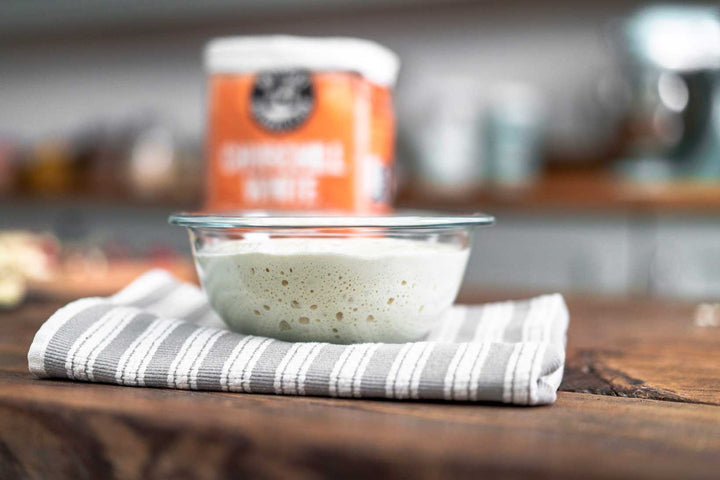
Sourdough starter tips:
- Consistency is key! Keep notes on each feeding including the time and amounts so you don’t accidentally miss a feed.
- While starting up, make sure that you keep your starter in a warm room to maximise fermentation.
- Use a good blend of white flours with spelt or rye additions – these are excellent foods for your starters and will add a nutty flavour.
- Make sure you use bottled or boiled and cooled water to feed your starter, any chlorine from your taps may kill off the natural yeast bacteria.
Sourdough baking tips:
- Be patient! Wild yeast can have a mind of its own, sometimes it can take 2 hours to prove a sourdough loaf, sometimes 4! Just be patient.
- Sourdough loaves are classically baked in a boule shape, but beginners might find it easier to bake the loaf using a loaf tin – this is just as good!
- Make sure you preheat your oven well, and for even better results also preheat a Dutch oven or cast-iron skillet. Even a pizza stone is fabulous! The extra heat from the stone or ceramic will help with your crust and give extra oven spring.
- Scoring the top of your loaf before baking will allow you to control the rise of the loaf, so it won’t split in the wrong place.
- Keep trying! Sourdough baking can be challenging but persevere and you’ll find your way. Whatever the result, don’t throw it away! Even imperfect loaves make great croutons or breadcrumbs.

What you’ll need to get started:
- Bottled water/boiled and cooled water
- Starter flour (I recommend a mix of 80% organic stoneground white flour with 20% organic spelt or rye)
- Large glass jar or Tupperware
- Elastic band or hairband (use this to measure the rise of the starter!)
- Set of scales – it is important at the start to be precise with your feedings.

How to get started:
Day 1) Mix 100g of your flour blend and 100g of water together in your container until combined. Cover with a loose lid, and leave for 24 hours.
Day 2) Keep 100g of the mixture from the day before, and discard the rest. Add to this 100g of flour and 100g of water, stir, and leave to sit again for 24 hours.
Day 3) Discard all but 100g of the starter and feed in the same way as on day 2. You may start to see signs of life by this point but if not just keep going!
Day 4-7) Repeat the same process each day after 24 hours of resting. By this point you will hopefully see signs of fermentation and it may be useful for you to place an elastic band around the jar to mark the level of the starter. You want to feed consistently at each 24 hour mark until you see the level double within that time.
Day 8) If your starter is consistently rising between feeds, you’ve managed the hard part! Your starter can now go into the fridge to remain dormant and can be fed once per week. If you do choose to keep it in the fridge, just make sure you take it out and give it a feed about 12 hours before you want to use it.
Sourdough challenges for pros:
- Use some of your discarded starter after each feed to make sourdough pasta. This is a great way to use up valuable starter which would otherwise be wasted and also gives a great flavour. The same principle can also be applied to noodles.
- Try freezing or drying a portion of your sourdough starter! This will ensure that should anything happen to the precious mother starter, you have a backup.
- Make some laminated pastries using sourdough starter. Making croissants or danishes using this method is great as the product naturally benefits from a cooler and longer process, and of course you get fantastic flavour.
Best flours to make sourdoughs:
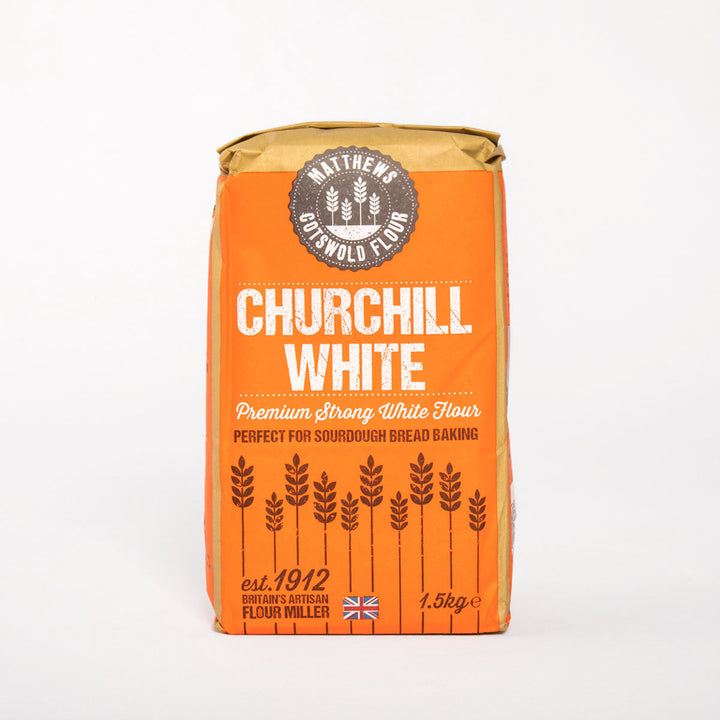
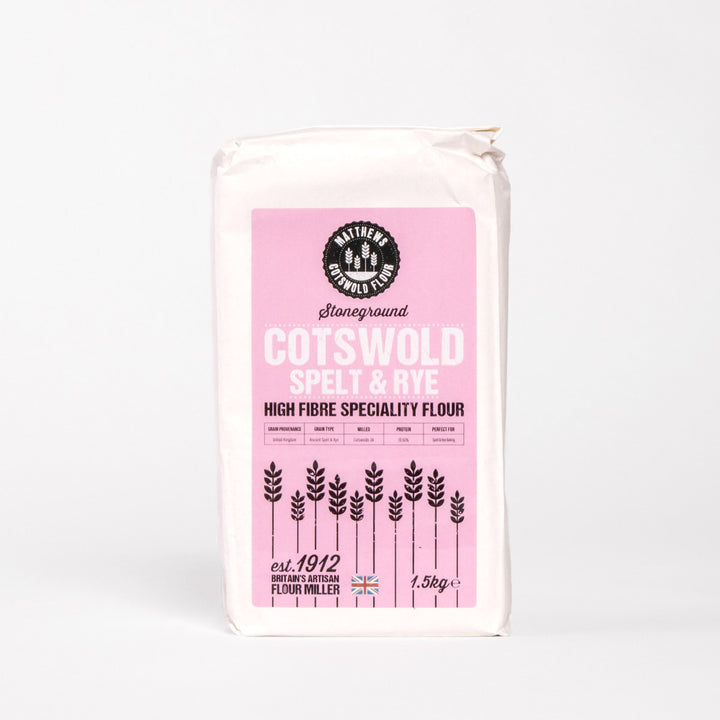
For your sourdough starter I recommend making a blend of 80% Matthews Cotswold Flour Churchill and 20% Matthews Cotswold Flour organic light rye or spelt.
For sourdough baking it would depend on your recipe, but for a classic white sourdough loaf I would stick with Matthews Cotswold Flour Churchill. This flour has a fantastic strength which makes it excellent for containing the gases produced by your sourdough starter.
← Older Post Newer Post →

