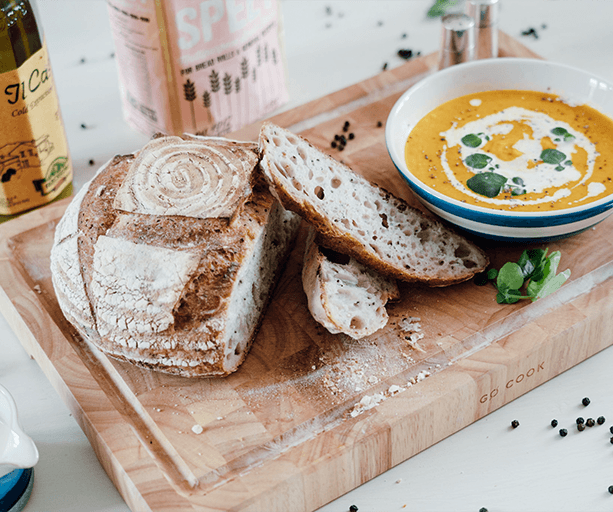
Spelt and Poppy Seed Sourdough Loaf


Ingredients
50 g (1⁄4 cup) active starter
350 g (1 ½ cups) water
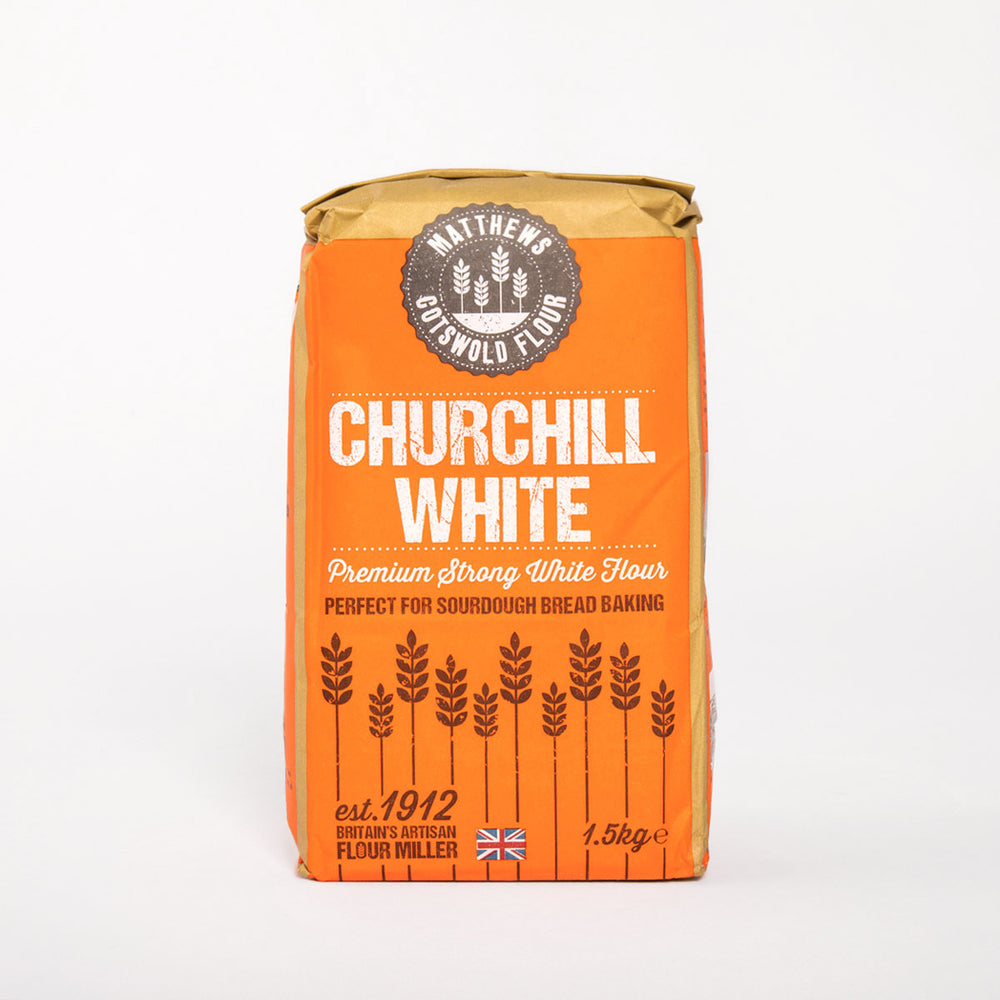
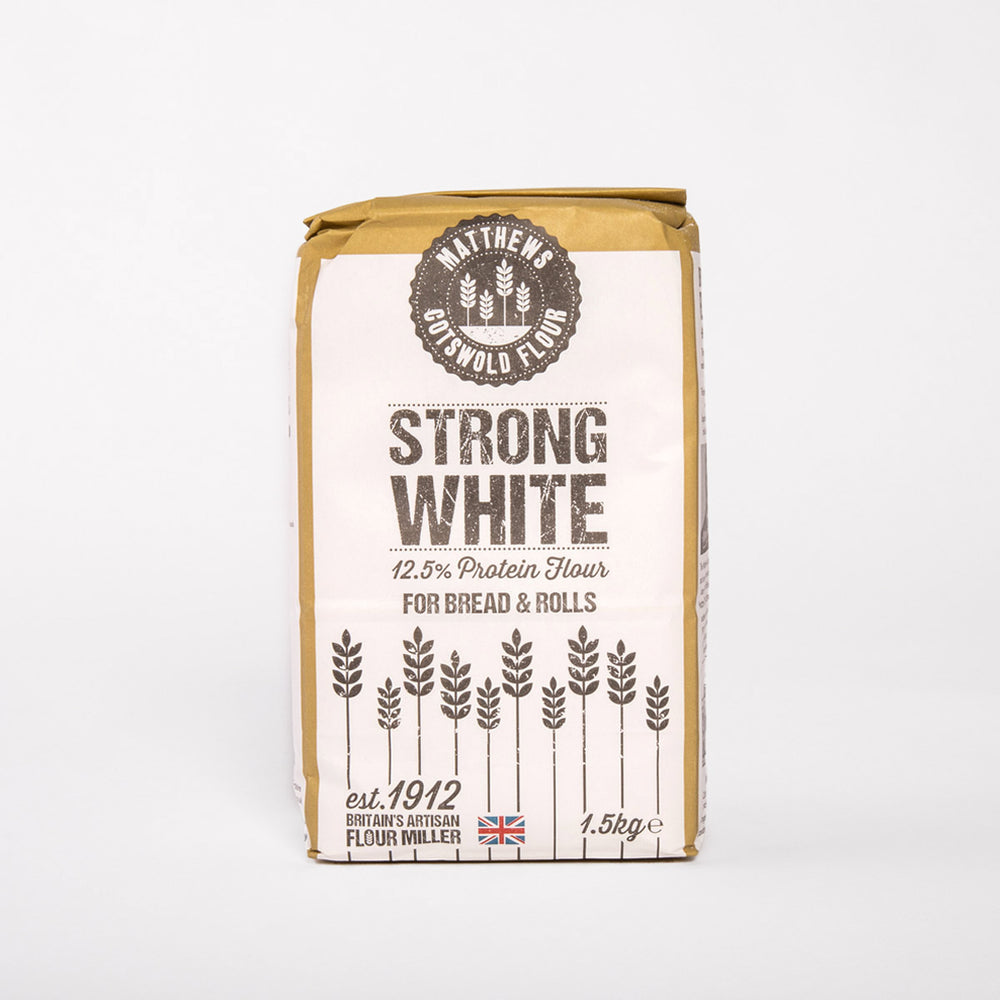
300 g (2 ½ cups) Churchills white or Strong White bread flour
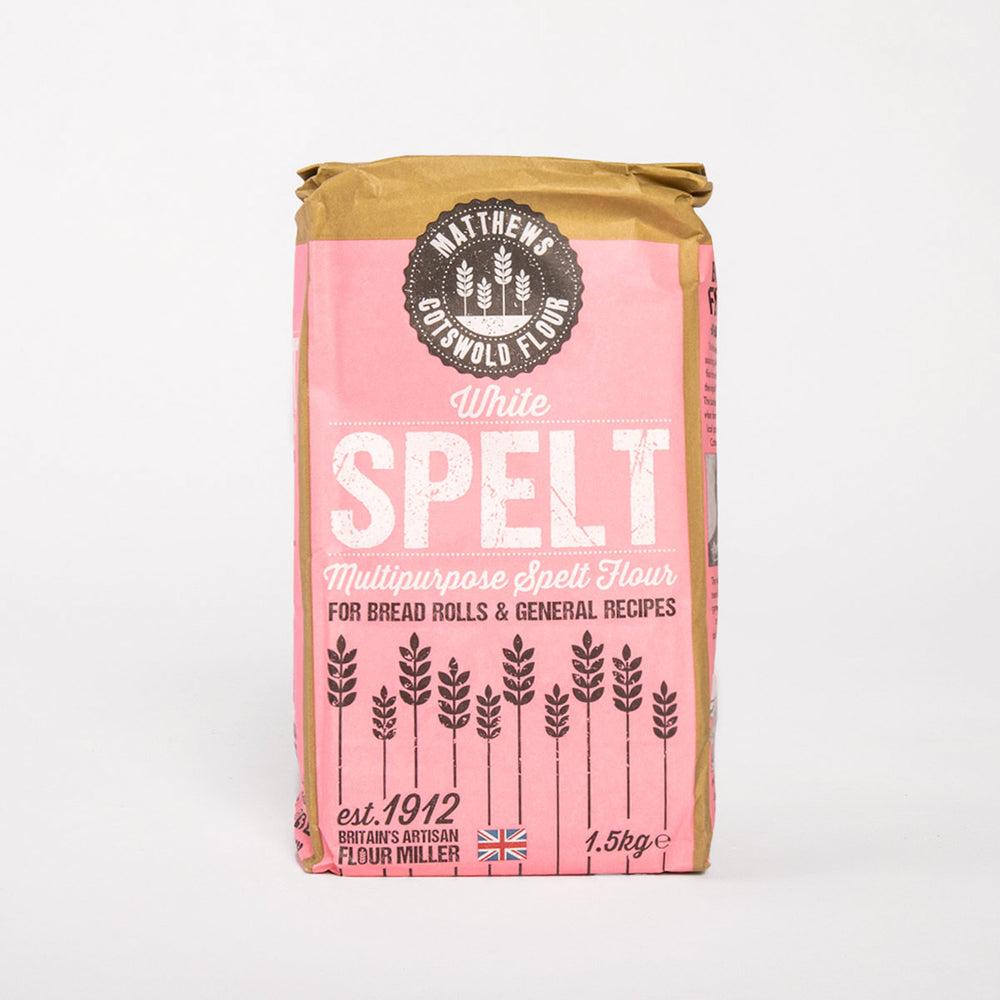
200 g (1 ¾ cup) white spelt flour
25 g (1⁄8 cup) poppy seeds
7 g (1 tsp) salt, or to taste
Rice flour, for dusting
Essential equipment for this recipe:
Digital scales
Large mixing bowl, ideally able to hold 91⁄2 to 101⁄2 cups (2.25 to 2.5 L)
Bowl scraper, stainless steel spoon or stiff spatula
Clean shower cap or damp tea towel
8 ½ inches (21.5 cm) diameter and 31⁄4 inches (8.5 cm) deep wood pulp banneton
Rice flour, for dusting
101⁄4-inch (26-cm)-diameter round enamel pan or other baking pan with a lid
Parchment paper
Lame or razor blade
Wire rack


Spelt and Poppy Seed Sourdough Loaf

Ingredients
50 g (1⁄4 cup) active starter
350 g (1 ½ cups) water
300 g (2 ½ cups) Churchills white or Strong White bread flour
200 g (1 ¾ cup) white spelt flour
25 g (1⁄8 cup) poppy seeds
7 g (1 tsp) salt, or to taste
Rice flour, for dusting
Essential equipment for this recipe:
Digital scales
Large mixing bowl, ideally able to hold 91⁄2 to 101⁄2 cups (2.25 to 2.5 L)
Bowl scraper, stainless steel spoon or stiff spatula
Clean shower cap or damp tea towel
8 ½ inches (21.5 cm) diameter and 31⁄4 inches (8.5 cm) deep wood pulp banneton
Rice flour, for dusting
101⁄4-inch (26-cm)-diameter round enamel pan or other baking pan with a lid
Parchment paper
Lame or razor blade
Wire rack
Makes: 1 standard loaf
Baker: Elaine Boddy
Method:
- Step 1: late afternoon/early evening, mix all of the ingredients together in your bowl to make a rough dough, with no dry flour showing. Cover the bowl with a shower cap or cover, and leave it for 2 hours on the kitchen counter.
- Step 2: after this rest time, perform the first set of pulls and folds on the dough to build up its structure. Literally pick up a handful of dough from one side of the bowl, using your thumb and two forefingers to grab a portion, lift it, stretch it and fold it over the rest of the dough to the other side of the bowl, turn the bowl a few degrees and repeat the process; lift and fold, turn the bowl, lift and fold, turn the bowl... continue until the dough comes together into a smoothish ball. Then stop.
- Cover the bowl again and leave it out on the kitchen counter. You can now leave the bowl again for an hour, or half an hour, whatever works for you before moving onto step 3.
- Step 3: over the next few hours, at intervals that suit you, perform 3 more sets of the lifting and folding action, just enough to bring the dough into a ball; this is the dough telling you when it is time to stop. After each set, cover the bowl and leave it on the counter, doing the final set before going to bed.
- Step 4: leave the covered bowl on the counter overnight to prove. I typically let my dough prove, untouched, for 8 to 10 hours at temperatures of 18-20C. If it is colder where you are it may require longer; if it is warmer, you will need to make amendments to the dough at the start of the process.
- Step 5: the next morning you should have a bowl full of grown dough, look for it to double in size and have am almost smooth, slightly upwardly domed surface, before moving to the next stage; sprinkle the inside of your banneton with an extra layer of rice flour and brush it round the inside To place the dough into the banneton, do a series of lifts and folds on the dough, enough to bring it into a firm ball again, then lift it into your banneton, smooth side down. Cover the banneton with the same cover that you previously used for the dough, and place it in the fridge for 3 to 24 hours, to allow the dough to firm up and develop flavour.
- Step 6: when you are ready to bake, you have two choices: to preheat the oven or bake from a cold start. If you choose to preheat the oven, preheat it to 220°C fan assisted, or 240C non fan. Have an enamel roaster or pan of your choice ready, plus good quality parchment paper.
- Step 7: remove the cover from the banneton, place your parchment paper over the top of it, place the pan upside down over the top of them both. With one hand under the banneton and one hand on top of the pan, turn it all over together to turn the dough out and into the pan.
- Step 8: with a lame or a clean razor blade, score the dome of the dough cleanly and firmly, at a depth of 0.5 to 1.0 cm.
- Step 9: let’s bake!
- If you preheated the oven, bake for 50 minutes, keeping the lid on for the entire time.
- If you are baking from a cold start, place the pan in the cold oven, turn the temperature to 220°C fan, or 240C non fan, and bake for a total of 55 minutes from the time that you placed the pan in the cold oven, with the lid on the entire time.
- After the 50 to 55 minutes, remove from the oven. Open the lid to check the loaf, if it looks pale, place it back in the hot oven, minus the lid, for 5 to 10 minutes to brown the loaf to the colour of your choice.
- Once the loaf is golden brown, carefully remove it from the pan, remove the parchment paper from the bottom, place the loaf to cool on a wire rack.
- Step 10: leave the loaf on its rack to cool completely. Whichever route you take to bake your loaf, once it is cooling, wait at least 1 hour before you slice into it to eat it at its best.
Enjoy!
For more tips, help and recipes, visit the sourdough section on our website.
← Older Post Newer Post →